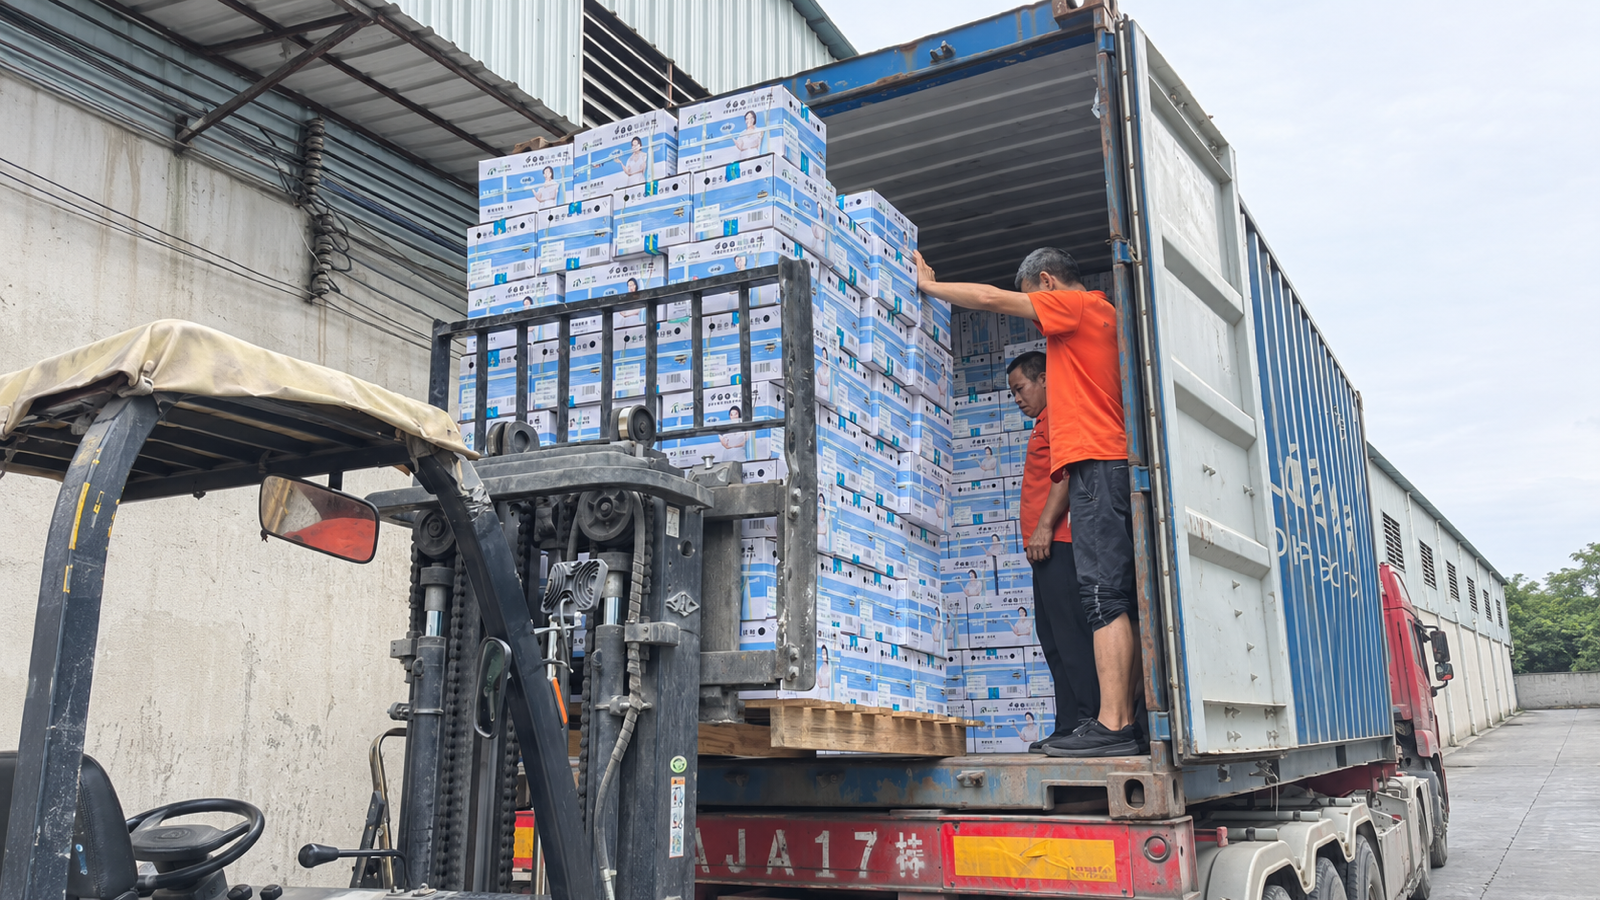

A private-label sealant cartridge can look ready for printing long before all the details are confirmed. The design may look fine on screen, but does the stated fill volume match the product? Is the right nozzle included? And are the barcode and performance claims correct for that particular sealant?
These are the details worth checking before the first print run. This guide walks through the packaging specifications, artwork, physical samples and approvals that should be in place before production begins. It starts after the product and package direction have been selected.
What Must Be Fixed Before Packaging Artwork Is Released?
Before a designer prepares final print files, write down the commercial facts that the package must represent:
- product model and product name;
- cure or product family where it matters;
- sealant color;
- declared fill;
- cartridge, plunger, nozzle, cap and carton configuration;
- target market and language;
- barcode or SKU owner; and
- artwork revision and approver.
Getting the logo and colors right is only part of the job. The product name, model, fill volume and claims still need to match what’s actually going into the cartridge.
For example, a 300 mL weather-resistant silicone and a 280 mL acrylic caulk may use similar-looking cartridges, but their model, product family, net content, technical claims and documents cannot share one generic artwork record. The product identity should be settled before design work begins.
If you are still choosing the factory rather than approving a chosen packaging route, start with our private-label caulk manufacturer checklist.
If the package is for a window or door weatherseal, confirm that application role before finalizing the printed claims; Vesta’s Windows & Doors application guide provides the related application context.
Tie Every Printed Field to One Product and SKU
Build one identity row for each sellable unit. It should connect the buyer’s commercial SKU to the factory model and the current product documents.
| Identity field | What to record | Why it matters |
|---|---|---|
| Product and model | Commercial name plus controlled factory model | Prevents a familiar design from being reused for the wrong formula |
| Product family | Silicone, acrylic, MS polymer or another defined chemistry | Keeps descriptions and claims consistent with the actual product |
| Sealant color | Exact production color or approved reference | Separates the filled product color from the packaging ink color |
| Declared fill | Net quantity in the units and format required by the destination market | Keeps the cartridge, carton and trade-item data aligned |
| Target market | Country, channel and approved language set | Determines which commercial and market-specific fields belong on the pack |
| SKU and pack level | Each, inner pack and case references | Stops the unit barcode from being copied blindly onto another packaging level |
Approve the Cartridge, Fill and Accessories as a Physical Package
An artwork file does not tell you whether the actual cartridge fits the gun, whether the declared quantity matches the order or whether the retail accessories are included.
In China’s sealant packaging industry, a 60 g empty plastic cartridge is commonly used as a standard reference for a 300 mL format. That does not mean cartridge weight alone determines capacity. Different constructions and material weights are available, so confirm the empty-cartridge weight, nominal capacity and declared net content separately.
For the physical package, approve:
- nominal capacity and declared net content;
- cartridge height, body diameter, thread and gun fit;
- wall and body construction, plunger and front seal;
- nozzle type and whether it is retained on the cartridge;
- resealing cap, if repeat use matters; and
- inner and outer carton quantity.
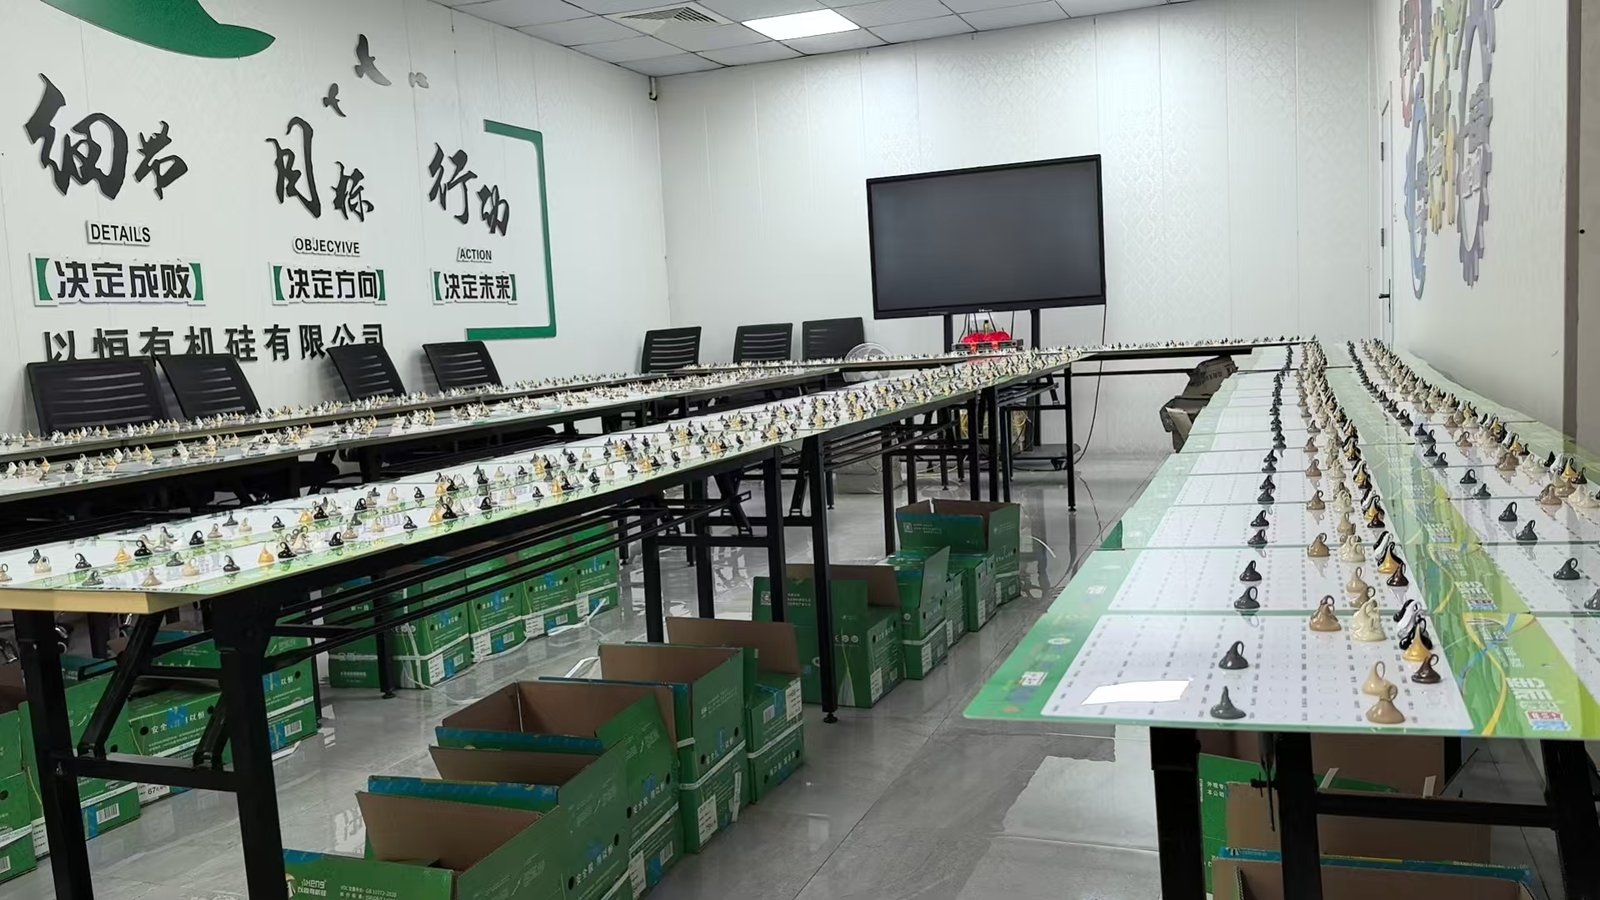
We also compare empty cartridge samples side by side. Look for consistent color, roundness, stiffness, wall feel and recovery after a gentle press. Uneven soft spots, lasting deformation or poor gun fit are reasons to reject the sample or ask for a different cartridge grade before production. This is a practical screening step, not a substitute for the agreed dimensions, declared fill and approved sample.
After filling, compare the plunger position with the approved sample. If it sits unusually far from the base, verify net content against the order specification instead of accepting or rejecting the batch from appearance alone.
If your first decision is whether the product should use a rigid cartridge or a foil pack, use the separate cartridge-versus-sausage sealant guide. This article assumes the pack format has already been chosen.
Name the Cartridge Printing Process Before You Compare Quotes
Terms such as “color print,” “raised print” and “film print” are not precise enough for approval. Ask the packaging supplier to name the process that will be used on the production cartridge.
| Likely process | What you can usually see or feel | What to confirm before approval |
|---|---|---|
| Direct dry-offset or digital print | Ink is printed directly on the cartridge; multi-color graphics can remain relatively flat | Color count, printable area, surface treatment, ink system, setup and run size |
| Screen printing | Direct ink can have a more opaque or slightly tactile deposit | Number of screens/colors, registration, scratch resistance and the physical sample |
| IML (in-mould labeling) | A label integrated during moulding, with the finish defined by the film and moulding process | Whether the selected cartridge and production line support IML, plus tooling and film specification |
| Applied film, sleeve or heat transfer | Decoration applied after the cartridge is formed; the surface may be glossy, matte or textured | The actual method, seams or edges, substrate treatment, tooling and rub resistance |
These are process families, not a universal ranking. Direct print is not always the cheapest or least durable, screen print is not true embossing, and every film-like finish is not automatically IML. Design coverage, run size, ink, substrate and tooling can change both cost and performance.
Naming the process makes quotations easier to compare. It also tells the designer which color limits, printable areas and finishing effects are realistic before the file is finalized.
Check Claims, Barcodes, Language and Variable Codes Before Printing
The printer can reproduce supplied artwork, but the printer should not decide whether a technical claim is true or whether a barcode represents the correct SKU. Assign one owner to each field.
| Printed field | Suggested owner | Evidence to approve |
|---|---|---|
| Brand name and commercial description | Buyer or brand owner | Approved naming sheet and SKU record |
| Product model, applications and performance claims | Sealant manufacturer | Current product record, TDS or named test evidence |
| Hazard and product-identifier text | Qualified product/market owner | Current classification and SDS identity for the target market |
| Net content and responsible-party details | Buyer with destination-market review | Approved order specification and applicable market requirements |
| Barcode number and packaging level | Buyer or GTIN owner | SKU-to-code list for the unit, inner pack or case |
| Dieline and printable area | Packaging supplier | Production dieline and named print process |
| Batch, version and color coding | Sealant factory and production line | Actual coder message, alphabet/script, punctuation, ink color and position |
Product claims also need to stay tied to the model they describe. For example, Vesta’s WR550 Weather-Resistant Silicone may have documented applications and movement-performance data. Those claims belong to the correct product model and its current documents; artwork reused for another cartridge should not turn a non-structural weatherseal into structural glazing silicone.
Labeling requirements vary by destination market and product classification. Depending on where the sealant will be sold, the packaging may need specific product identifiers, hazard information, responsible-party details, net quantity declarations or local-language text. Before approving the artwork, check that the printed information matches the actual product, its current documentation and the requirements of the destination market. A label approved for one country should not automatically be reused in another.
A barcode also has two approvals: the number must represent the right SKU and packaging level, and the printed symbol must scan on the actual package. Check size, contrast, quiet zones, curvature, position and any interference from seams or graphics on the physical proof.
Variable codes deserve the same precision. Approve the exact order of batch/version fields, sealant color name or code, alphabet or script, punctuation, number of lines, ink color and print position. Coding machines and production lines do not all support the same characters or layout, so a special requirement should be tested before the bulk run.
Use Digital Proofs and Physical Samples for Different Decisions
A digital artwork proof confirms content and layout. It can show whether the right product name, fill, language, barcode number and hierarchy are present. It cannot show exactly how a red ink will look on a red plastic cartridge, how opaque the white ink will be or whether a small code remains readable on the curved body.
We encountered this when a customer requested red printing on a red cartridge. The first two physical samples were not accepted; the third was approved. That approved sample became the production color reference and gave the customer a final chance to check the text, font and finished appearance before the bulk run.
Use three distinct decisions:
- Digital proof: approve content, spelling, identity, hierarchy and layout against the correct dieline.
- Physical print proof: approve the real substrate, color, finish, registration, readability, barcode performance and coding space.
- Production release: name the exact file, revision and physical reference that the factory may use.
The number of samples depends on the project. The important point is that a screen image and a printed cartridge answer different questions. If the issue is the color of the sealant itself rather than the packaging ink, use the separate colored silicone sealant color-approval guide.
Release One Revision—and Reopen Only What Changed
Once the product, package and proof are accepted, release one revision for production. Put the revision on the artwork file, approval record and purchase specification so the printer, filling line and buyer are working from the same version.

If something changes, reopen the rows it can affect:
| Change | Reopen these approvals |
|---|---|
| Product model, formula family or classification | Product identity, claims, TDS/SDS links and hazard copy |
| Declared fill, cartridge or pack level | Quantity copy, dimensions, component list, barcode and carton data |
| Target market or language | Required copy, responsible-party details, script and variable code |
| Barcode or SKU | Trade-item record, printed symbol and scan check |
| Print process, cartridge material or background color | Physical color, finish, registration, barcode readability and proof |
| Design-only change | Content/layout proof, dieline fit and final released revision |
Do not reopen every technical decision because a logo moved. But do not call a change “design only” when it alters a claim, barcode, quantity or market field.
This release record complements the earlier sealant sample-testing checklist and the later incoming inspection checklist. Product approval, packaging release and shipment inspection are separate controls.
Final Private Label Sealant Packaging Checklist
Before printing, confirm that you have one approved record for every row below:
| Check | Approval record |
|---|---|
| 1. Product identity | Commercial name, factory model and product family |
| 2. Sealant color | Production color or approved reference |
| 3. Declared fill | Nominal capacity and approved net-content statement |
| 4. Physical package | Cartridge dimensions/construction, plunger, nozzle, cap and carton |
| 5. Target market | Country, channel and language set |
| 6. Claims and product copy | Current evidence and named approver |
| 7. Barcode and pack level | Correct SKU/GTIN relationship and physical scan result |
| 8. Variable coding | Batch/version/color message, script, ink and position |
| 9. Proofs | Approved digital proof and any required physical print sample |
| 10. Production release | Exact file name, revision, approver and release date |
If you’re preparing artwork for your first private-label sealant order, Vesta can help review the product and packaging details before printing. Share your product model, sealant color, fill volume, target market and current artwork through our OEM and private-label page, and we’ll help identify what still needs to be confirmed.